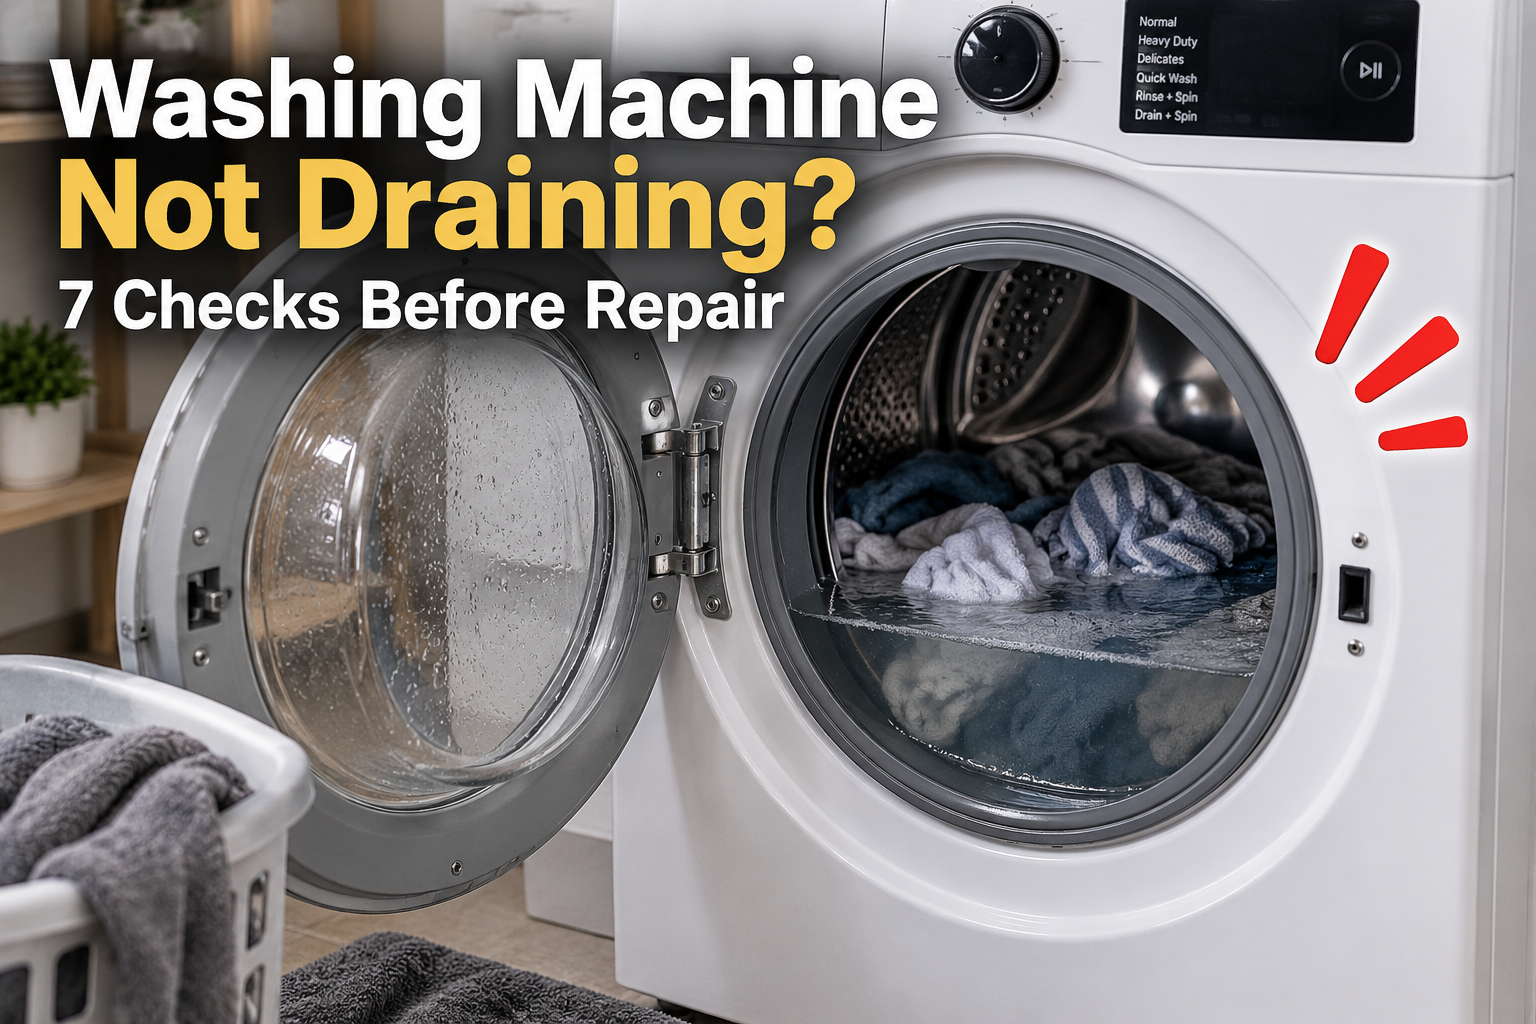
Washing machine not draining? It does not automatically mean you need a new pump. Start by separating standing water in the tub from clothes that are simply too wet. Then check the controls, visible drain hose, household drain, and pump filter where the manufacturer allows owner access. Do not open a filter cap on a full washer or diagnose a failed pump from noise alone. [1] [5] [7]
This is a research-based guide using U.S. manufacturer support instructions, not a hands-on test report. Your exact model’s owner and installation manuals take priority over general advice.
Identify the Problem First
| What you notice | Where to start |
|---|---|
| Clothes are soaked, but no pool of water remains. | Check the spin setting and load balance in Check 3. Wet clothes alone do not prove a drainage blockage. |
| A pool of water remains after the cycle stops. | Record the display message, then follow the drainage checks below. |
| The standpipe or laundry sink overflows during discharge. | Stop using the washer. The household drain needs attention; see Check 6. |
| A top-loader makes a sloshing sound, but its basket is visibly empty. | GE explains that fluid in the balance ring can make this normal sound. Sound alone does not establish a drainage fault. |
The distinction above draws on Whirlpool’s spin guidance and GE’s front-load and top-load troubleshooting. [2] [7] [8]
Before Opening Anything
Stop if there is smoke, a burning smell, repeated breaker tripping, or water near electrical connections. Do not touch a wet plug or outlet. Isolate power only from a safe, dry location and get professional help. Shut off the water supply if there is a leak and the valves are safely reachable.
For ordinary checks, keep the floor dry and unplug the washer before handling hoses or opening a filter-access cover. Let hot wash water cool before emergency draining. Do not tilt a water-filled washer, pull out a stacked unit, force a locked door, or bypass a lid switch. This checklist does not include cabinet removal or electrical testing. LG specifies unplugging before filter work, and Samsung warns about hot residual water. [5] [6]
7 Checks Before Calling for Repair
1. Record the Error and Use the Correct Drain Procedure
If it is safe to approach the machine, photograph any error code or flashing-light pattern before changing settings. Also note the cycle and whether it stopped during washing, draining, or spinning. Check that the machine has actually stopped rather than entered a normal pause; GE notes that pauses between stages can be normal. [8]
Follow your manual’s drain-out procedure. It may use a Drain & Spin setting or a different control sequence. Do not start a fresh wash just to test a tub that is already full, and do not repeatedly restart a failed drain attempt.
A power cycle is not a substitute for troubleshooting. Samsung warns that repeated resets can erase error history without correcting the underlying problem. Record the code and follow its troubleshooting instructions instead. [9]
2. Check the Door or Lid Without Defeating the Lock
Look for clothing caught in the door or lid opening and close it normally when safe. A closure problem can interrupt operation, but lock behavior differs by model. A click, silence, or a locked front-load door is not enough to diagnose a defective switch. [1]
Do not pry open a door with water behind it or hold a switch closed by hand. If the latch is damaged or a door-related error persists after the opening is clear, stop at an external inspection and arrange service.
3. Separate a Spin Problem From a Drainage Problem
Use this check primarily when the tub has drained but the laundry is unusually wet. A low-spin setting or an unbalanced load can leave more water in fabrics. Whirlpool describes reduced spin speed and interrupted spinning when a load is out of balance. [2]
Once the machine has stopped and unlocked normally, redistribute bunched items or remove part of an overloaded load. Choose a spin setting allowed by the clothing care labels. Do not automatically add towels to a washer that is already packed.
If water is still pooled in the tub, continue with the drain-path checks rather than treating a higher spin speed as the solution. For this checklist, visible standing water takes priority over load adjustments.
4. Check for Excessive Suds
Heavy foam is relevant: Whirlpool says excess detergent can interfere with draining and spinning. Use the detergent type required by the washer and measure the dose for the product concentration, load, and soil level. [1]
Do not add more detergent or improvise a chemical treatment. Follow the model’s oversudsing instructions. Do not keep adding rinse water to a washer that cannot empty; address standing water first. Once drainage is restored, use the manufacturer’s recommended rinse procedure to remove residue.
5. Inspect the Visible Drain Hose
With the washer unplugged, inspect the accessible hose between the machine and its drain connection. Look for a sharp bend, a flattened section, or crushing against the wall. A kinked or obstructed hose is one of the conditions GE directs owners to check. [8]
Correct an accessible bend without stretching the hose or disturbing its connection. If reaching it requires moving a full washer or a stacked installation, get help rather than pulling the appliance out.
A straight-looking hose does not rule out an internal blockage. Do not disconnect a water-filled hose or push tools into it as a generic test. Use the model’s documented draining and hose-removal procedure, or leave that inspection to a technician.
6. Check the Installation and Household Drain
The standpipe is the upright household drain pipe receiving the washer hose. Compare its height, the hose insertion depth, and the connection arrangement with your installation manual. Do not apply one manufacturer’s dimensions to every washer.
For example, Whirlpool’s front-load troubleshooting page specifies no more than 4.5 inches of hose insertion, while Samsung’s U.S. installation guide specifies 6 to 8 inches for its standpipe instructions. These are different published instructions, not interchangeable settings. Both caution against an airtight hose-to-standpipe connection. [3] [4]
A drain outlet beyond the washer’s permitted pumping height can impair drainage; an installation that allows siphoning creates a different problem. Measure before making changes, and have an installer or plumber correct an unsuitable arrangement. [3] [4]
If the standpipe or laundry sink backs up, stop the washer and have the household drain checked. GE recommends a plumber when the household drain will not accept water. Do not deliberately reproduce an overflow or assume that replacing the washer pump will fix the plumbing. [8]
7. Clean the Pump Filter Only if It Is Owner-Accessible
Some front-load washers have a pump filter that owners can clean. Do not assume every front-loader or top-loader has the same access flap. GE specifically tells owners to check the manual for a manually cleanable filter. If your model provides no owner-access procedure, skip this step. [7]
For a model with both an emergency drain hose and a removable pump filter, the manufacturer-guided sequence is:
- Disconnect power and let the water cool. Prepare towels and shallow containers before opening the access cover.
- Drain through the emergency hose first. Follow the manual to release its cap. Collect the water in stages, recapping the hose when changing containers.
- Remove the filter only after draining. Follow the model’s opening method. Remove accessible debris from the filter and wash it with a soft brush as directed.
- Refit everything correctly. Seat the filter without cross-threading or overtightening. Secure the emergency hose cap, return the hose to its holder, and close the cover.
Samsung and LG describe this drain-first sequence, but access and cap designs vary. [5] [6]
If water remains visible but nothing comes through the emergency hose, stop. Do not assume the tub is empty and unscrew the main filter. Likewise, stop if the cap is stuck, the seal is damaged, or removing debris would require reaching into the pump mechanism.
A loose hose cap or incorrectly seated filter can leak after cleaning. Check their fit before reconnecting power. [6]
How to Check Whether the Problem Is Resolved
After correcting an accessible issue, confirm that all caps, covers, and hose connections are secure and the surrounding area is dry. Use the model’s specified test procedure and stay nearby.
When standing water has been removed and the installation is secure, a manufacturer-approved empty test can check filling, draining, and spinning. Samsung’s installation guide uses Rinse + Spin without detergent for this purpose. Do not use that as a reason to add water to a machine that still cannot drain. [4]
Watch for returning standing water, an error message, leaks, or drain backup. End the test if any appear. A successful test after a correction is useful evidence, but it does not prove that every internal component is healthy. A recurring fault still needs diagnosis.
Washing Machine Not Draining After These Checks?
Arrange appliance service when the permitted owner checks do not restore drainage, the filter cannot be accessed safely, or the lock remains faulty. A tub that stays full while the machine hums is also a reason to stop testing; GE recommends service for that symptom. Do not buy a pump based on the sound alone. [7]
Use the observed problem to choose help: household drain backup calls for plumbing attention, while an unresolved washer fault calls for appliance diagnosis. Electrical warning signs need qualified electrical or appliance assistance before reuse.
What to Record Before the Service Call
Prepare a short note with the model and serial number, exact error message, cycle selected, whether standing water remains, and any recent move or installation change. Add which checks you completed and what changed afterward. Report observations rather than a guessed part failure.
For example: “The cycle stops before the final spin. Water remains visible. The accessible hose is not kinked. The owner-accessible filter was cleaned, but the same error returned.” This is a sample description, not a report of a tested washer.
Before authorizing work, request an itemized estimate showing diagnosis, parts, labor, any separate visit fee, and the repair warranty. Check existing coverage rather than relying on a generic pump-replacement price.
Maintenance After Drainage Is Restored
Follow the filter-cleaning interval in your model’s manual rather than a universal schedule. For example, Samsung’s U.S. guide recommends cleaning its applicable front-load pump filter monthly or after approximately 40 washes, whichever comes first. That is not a rule for every brand. [5]
Use the troubleshooting checks as a prevention checklist: measure detergent, avoid tightly packed loads, and inspect the visible drain-hose route after an installation change. If the same drainage problem returns, record it and seek diagnosis instead of repeatedly resetting the washer. [1] [2] [9]
Official Sources
Sources checked September 16, 2026. These pages address different washer designs; the instructions for your exact model control.
[1] Whirlpool: Washer Not Draining or Spinning?
https://producthelp.whirlpool.com/Laundry/Washers/Product_Info/Washer_Product_Assistance/Washer_Not_Draining_or_Spinning%3F_Troubleshooting_Guide
[2] Whirlpool: Not Spinning — Top-Load Washer
https://producthelp.whirlpool.com/Laundry/Washers/Top_Load_Washer/Cycle_Concerns/Not_Spinning_-_Washer
[3] Whirlpool: Not Draining — Front-Load Washer
https://producthelp.whirlpool.com/Laundry/Washers/Front_Load_Washers/Cycle_Concerns/Not_Draining/Not_Draining_-_Front_Load_Washer
[4] Samsung: Install a Samsung Washing Machine in Your Home
https://www.samsung.com/us/support/answer/ANS10001021/
[5] Samsung: How to Clean Your Samsung Washer
https://www.samsung.com/us/support/answer/ANS10003197/
[6] LG: Front-Load Washer Leaking — Drain Filter Section
https://www.lg.com/us/support/help-library/lg-washer-why-is-my-front-load-washing-machine-leaking-CT00000305-1431986512448
[7] GE Appliances: Front-Load Washer Will Not Drain or Drains Slowly
https://products.geappliances.com/appliance/gea-support-search-content?contentId=23081
[8] GE Appliances: Top-Load Washer Will Not Drain
https://products.geappliances.com/appliance/gea-support-search-content?contentId=23080
[9] Samsung: How to Reset Your Samsung Washing Machine
https://www.samsung.com/us/support/answer/ANS10004807/
About this guide: Published by JJINGOSU as a manufacturer-source-based troubleshooting guide. It does not replace an inspection or your model’s instructions. About JJINGOSU.
추천 상품 확인하기
이 포스팅은 쿠팡 파트너스 활동의 일환으로, 이에 따른 일정액의 수수료를 제공받습니다.